ANALYZED CHESS GAMES
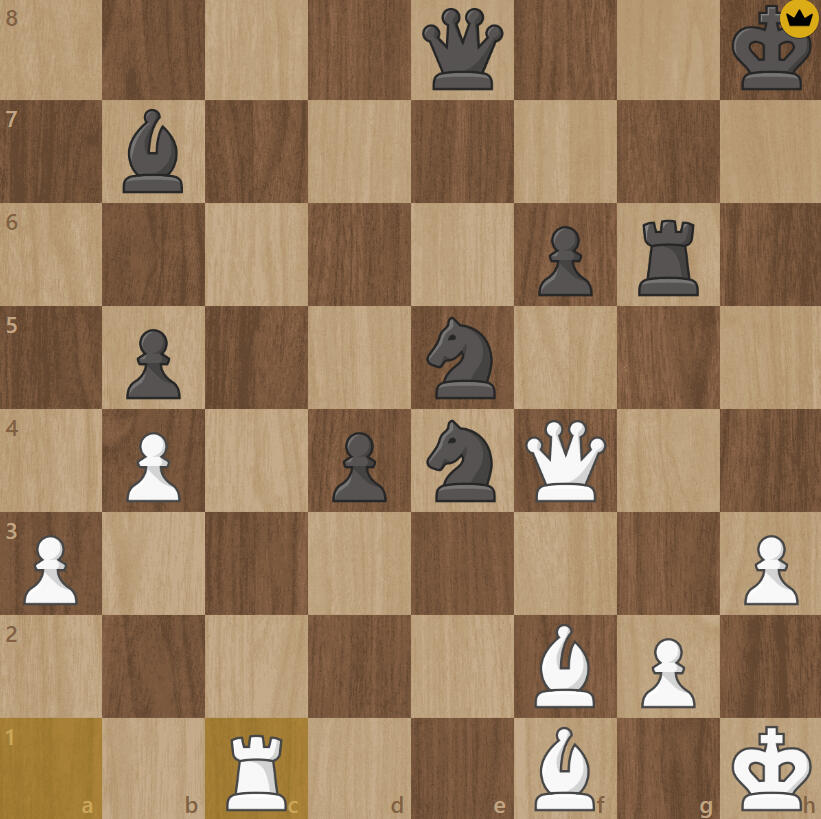
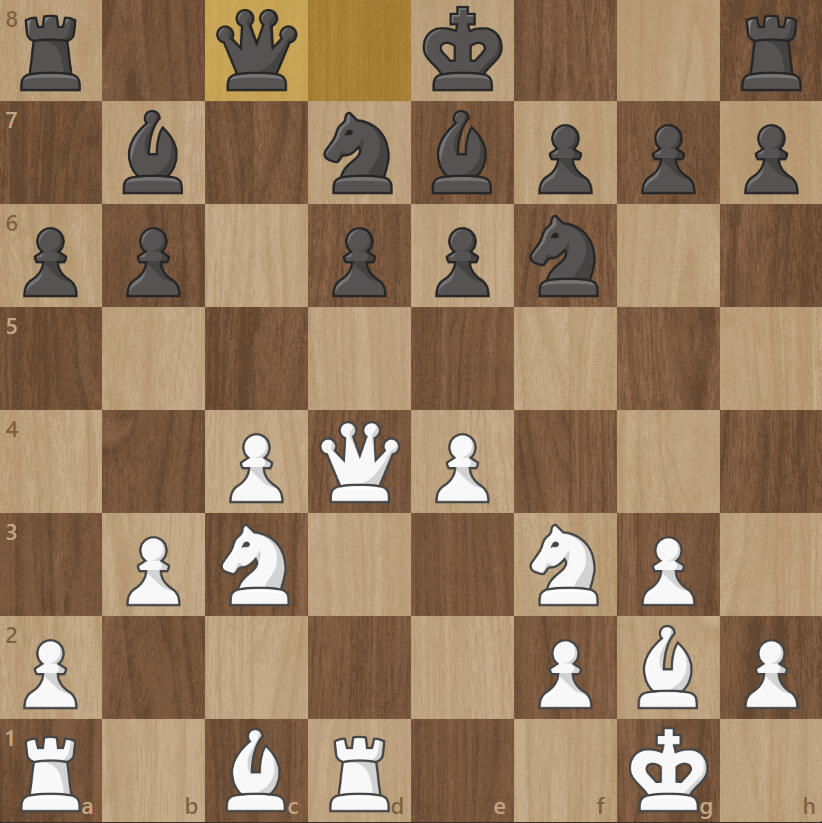
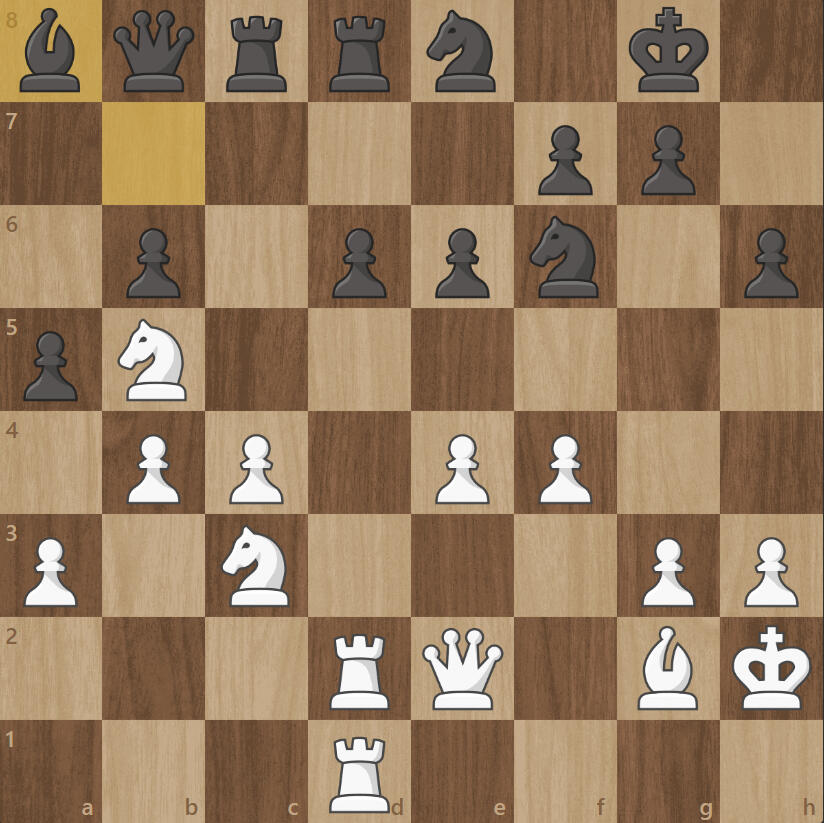
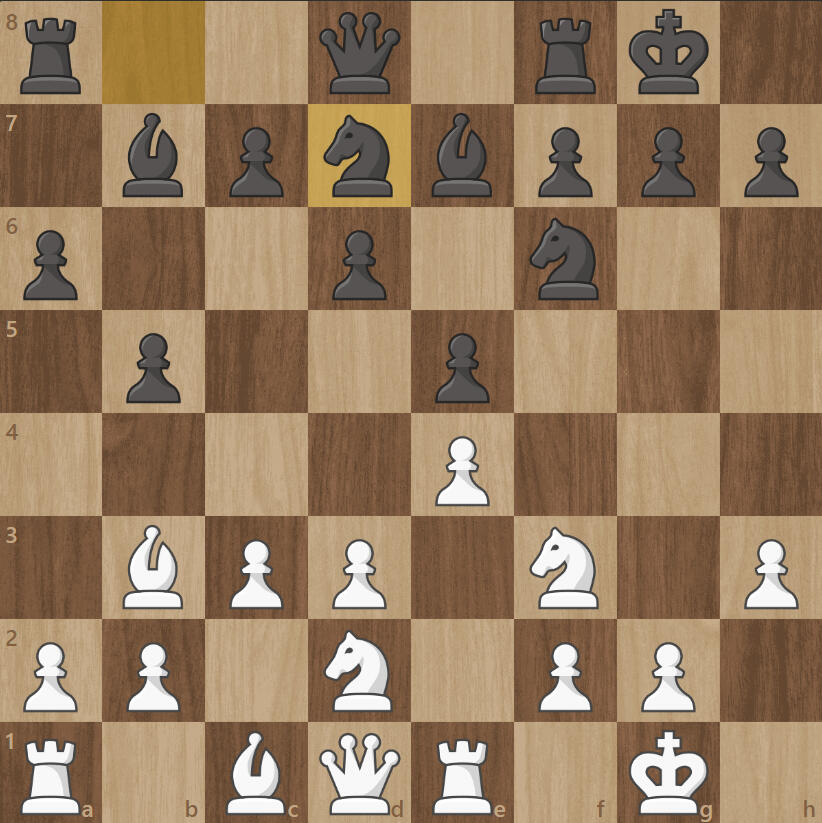
1. Nf3 d5 2. d4 c6 3. c4 dxc4 4. e3 b5 5. a4 e6 6. axb5 cxb5 7. b3 Bb4+ 8. Bd2 Bxd2+ 9. Nbxd2 a5 10. bxc4 b4 11. Ne5 Nf6! 12. Bd3?! O-O 13. O-O Bb7 14. f4 Nbd7 15. Bc2 Qc7
In the Slav Defense: Modern Line, a more recent game was played in 2012 by Igor Naumkin and Igor Khenkin at the Salento Open. After Bc2, Khenkin played h6 and followed up with Qe2. The game proceeded with a mistake, as White played g4, which opened up his kingside. However, in this position, Rf2 would have been the best move, as it would have enabled White to have a more open first rank for the a1 rook, potentially creating a battery on the f file or providing protection for the g2 square against the b7-g2 diagonal.
16. Qe1 Rfd8 17. Qh4 Nf8
Black's pawns are blockaded, while White possesses excellent attacking chances. More and more often, players in dynamic positions are maintaining their kings in the center and occasionally forsaking their development in order to attain specific tactical and positional objectives.
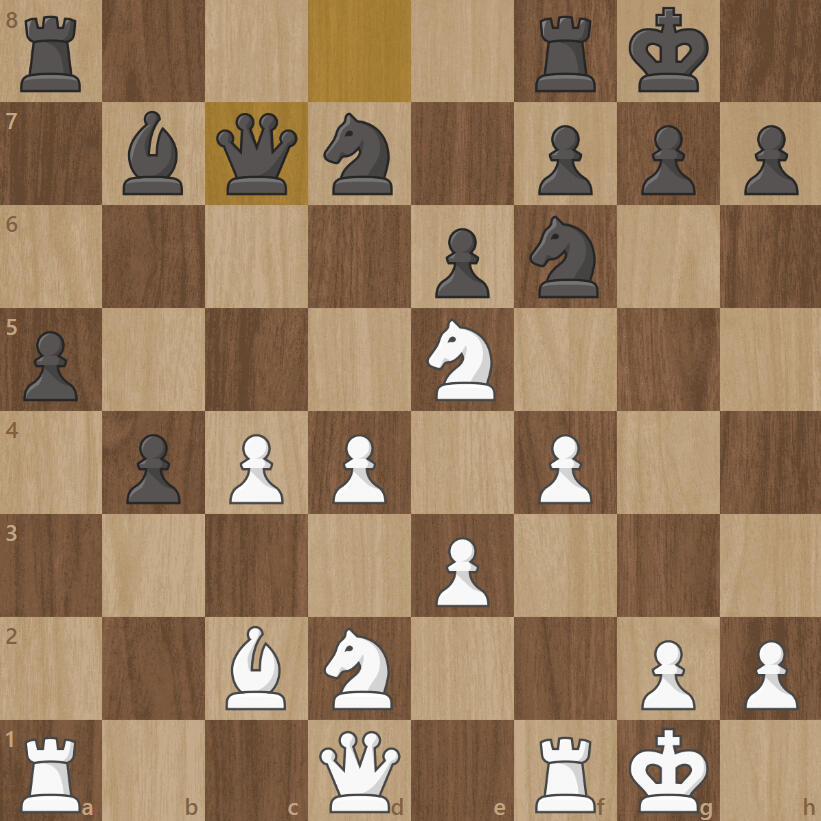
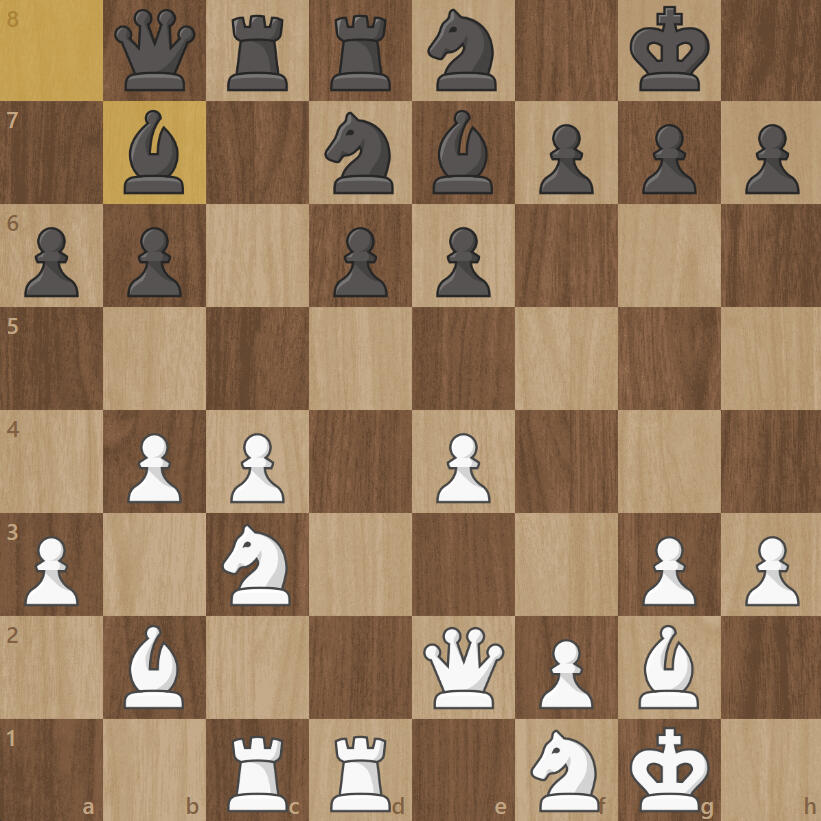
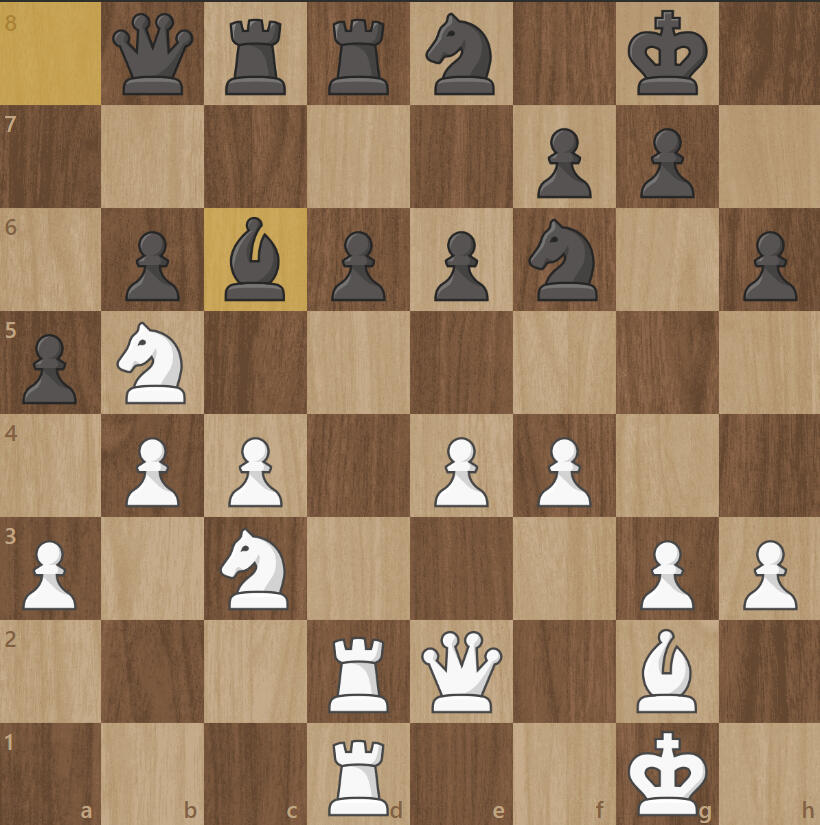
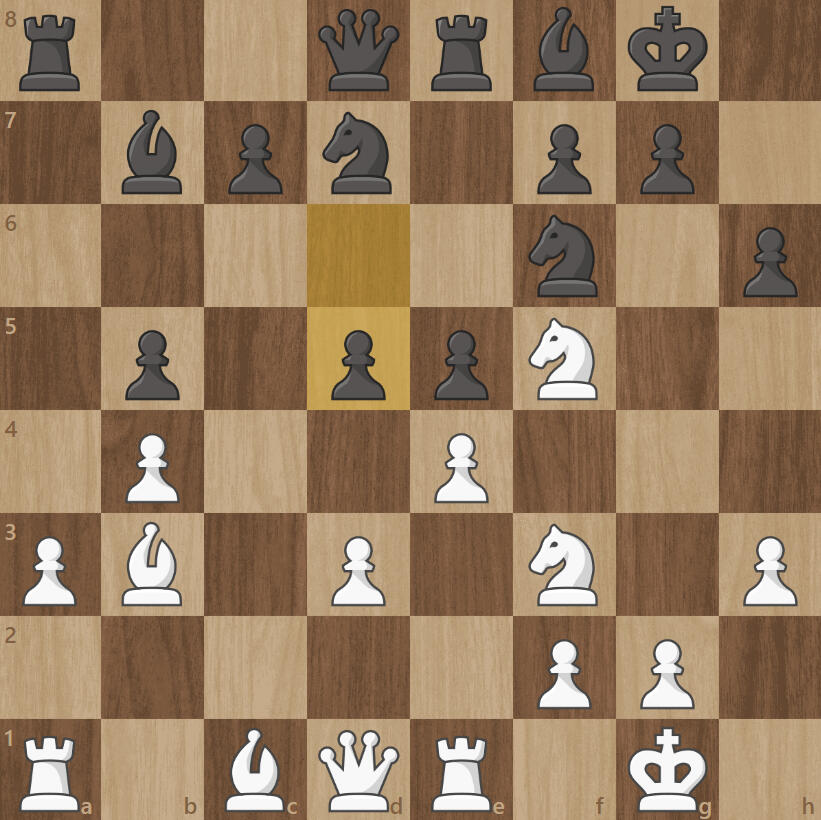
18. f5 exf5 19. Rxf5 Ng6 20. Qg3 Re8?!
An oversight occurred during a knight exchange at the e5 square, resulting in a missed opportunity for a better move with the passed pawn to a4. In this position, White has the option to advance with c5.
21. Rg5 Qd8
Although the position appears to be quite daunting for Black due to the knight being trapped on the g6 square, it is, in fact, still solid. This is because there have been no significant exchanges yet that would greatly impact White's position.
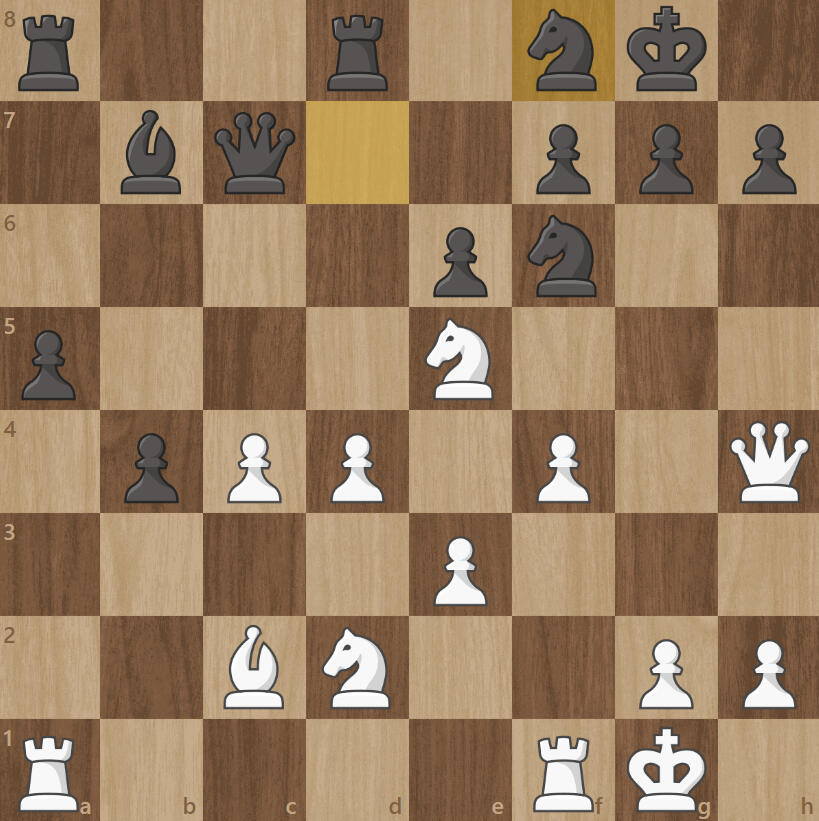
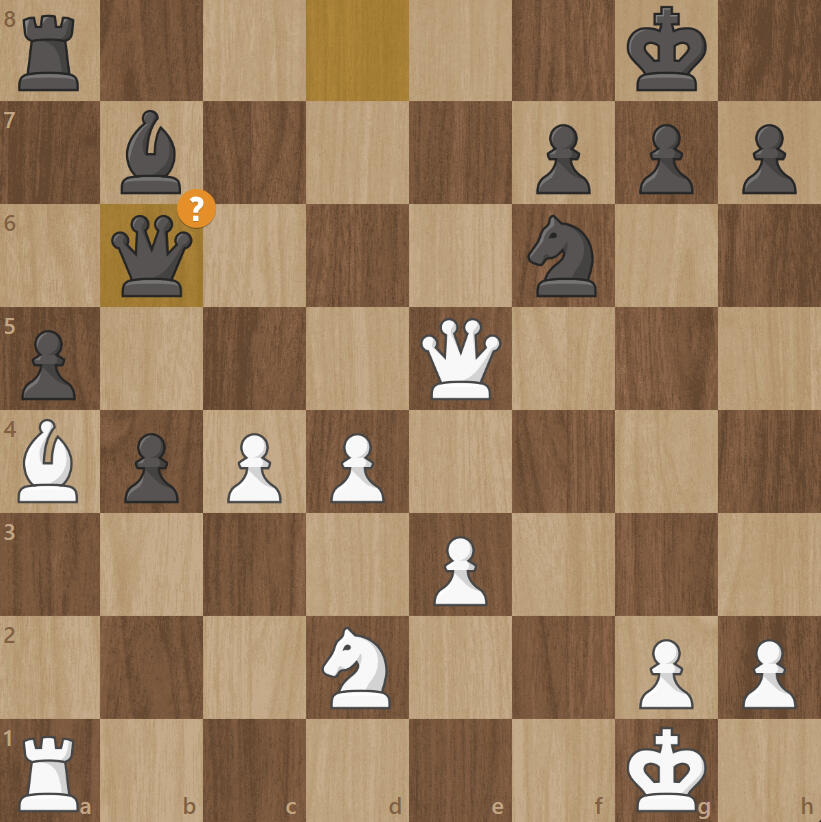
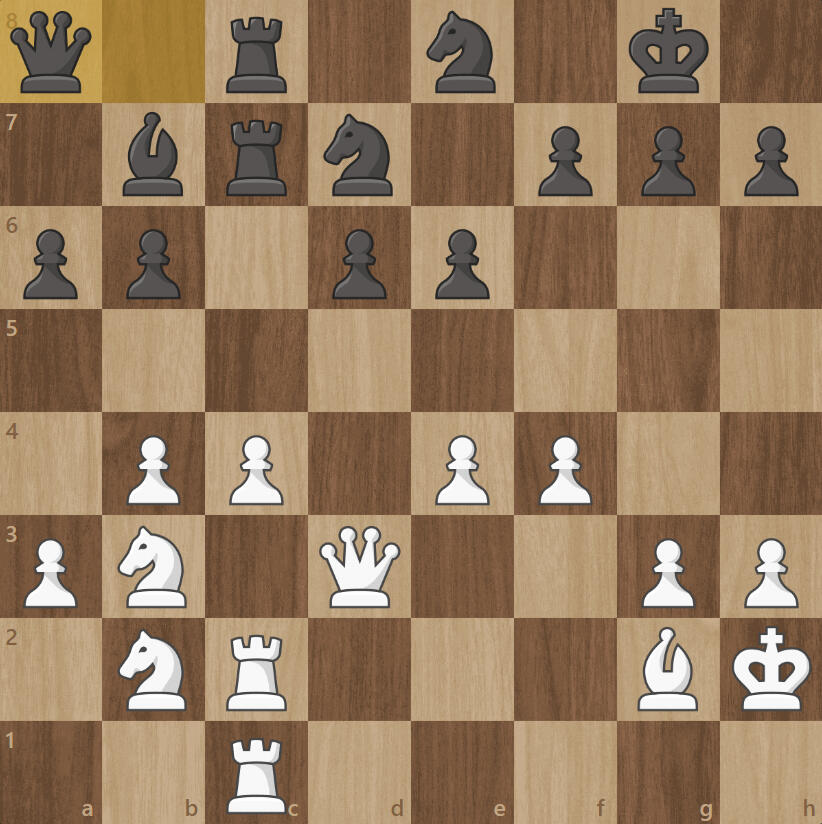
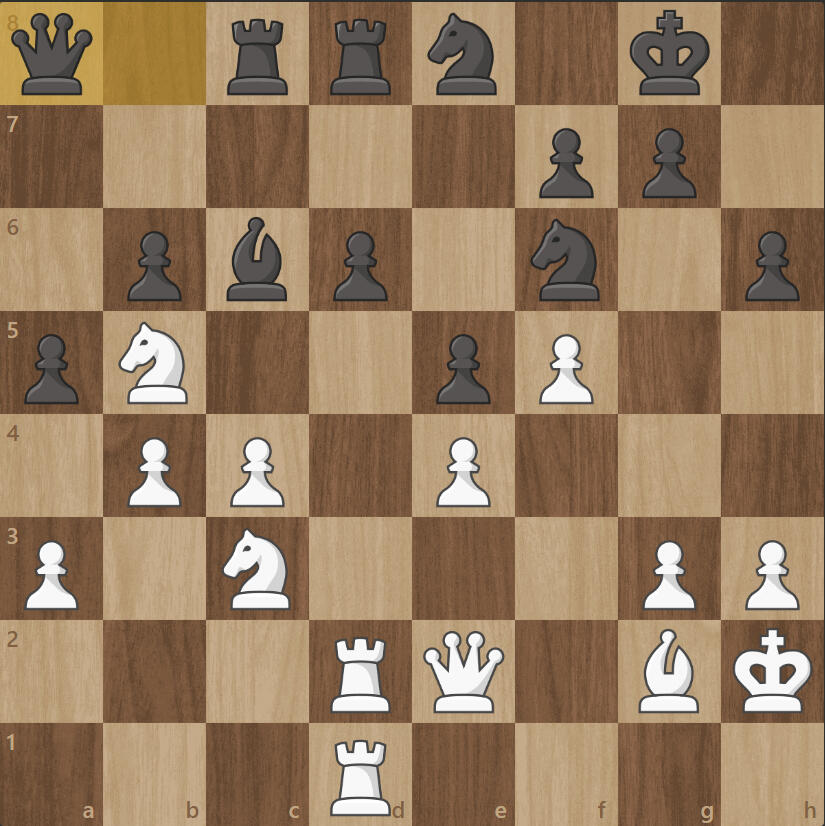
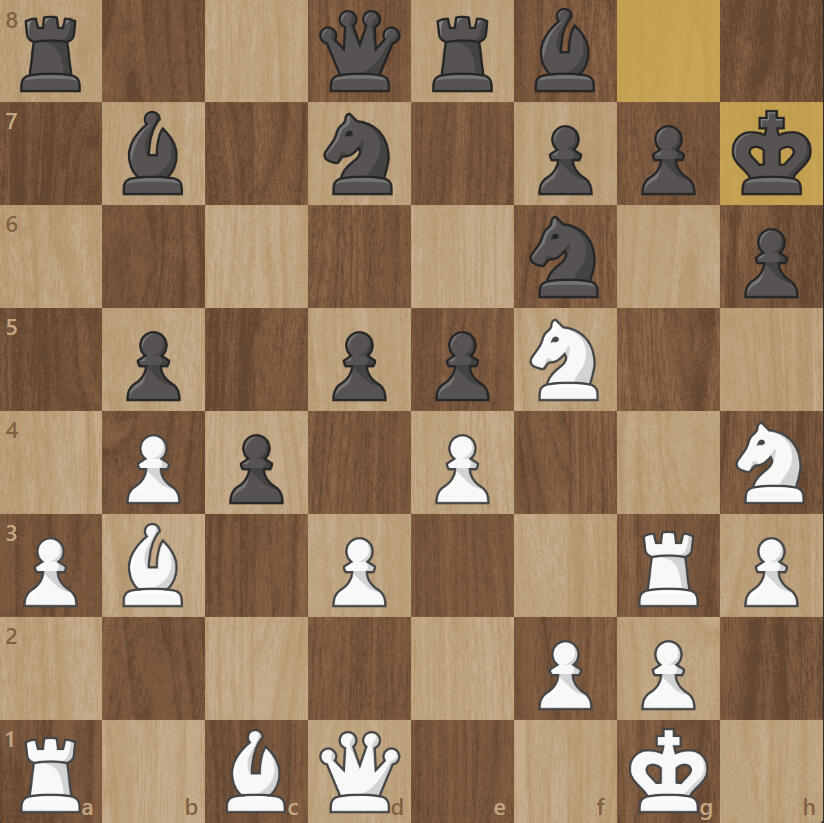
22. Ba4 Rxe5
Upon initial inspection, this may appear to be a favorable exchange sacrifice; however, it is, in fact, quite tactical and results in an equitable position for Black, as the move dxe5 leads to Qxd2.
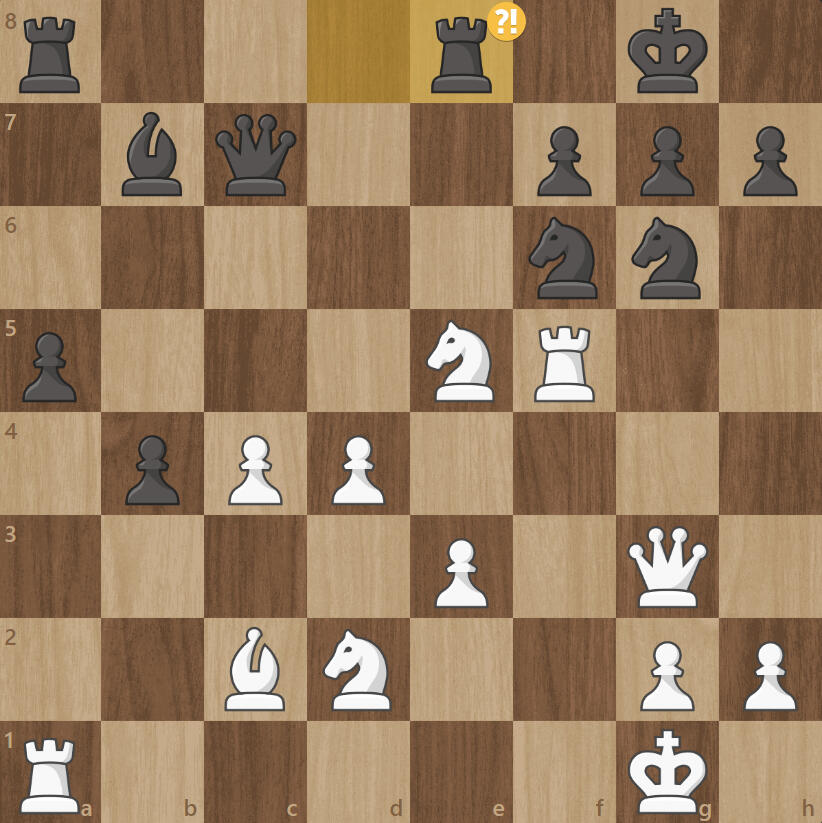
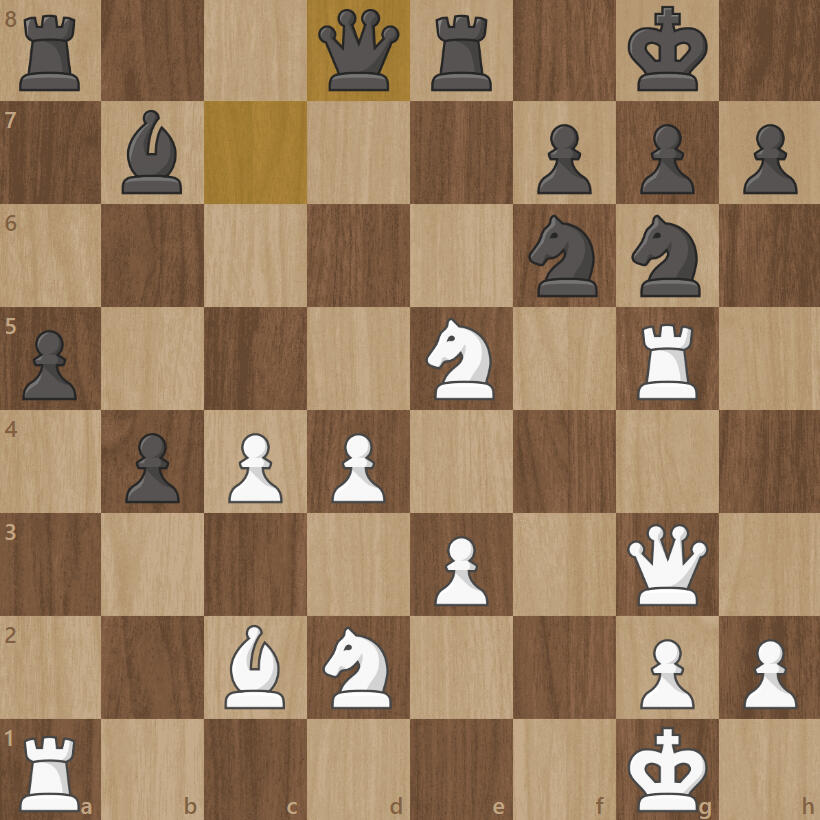
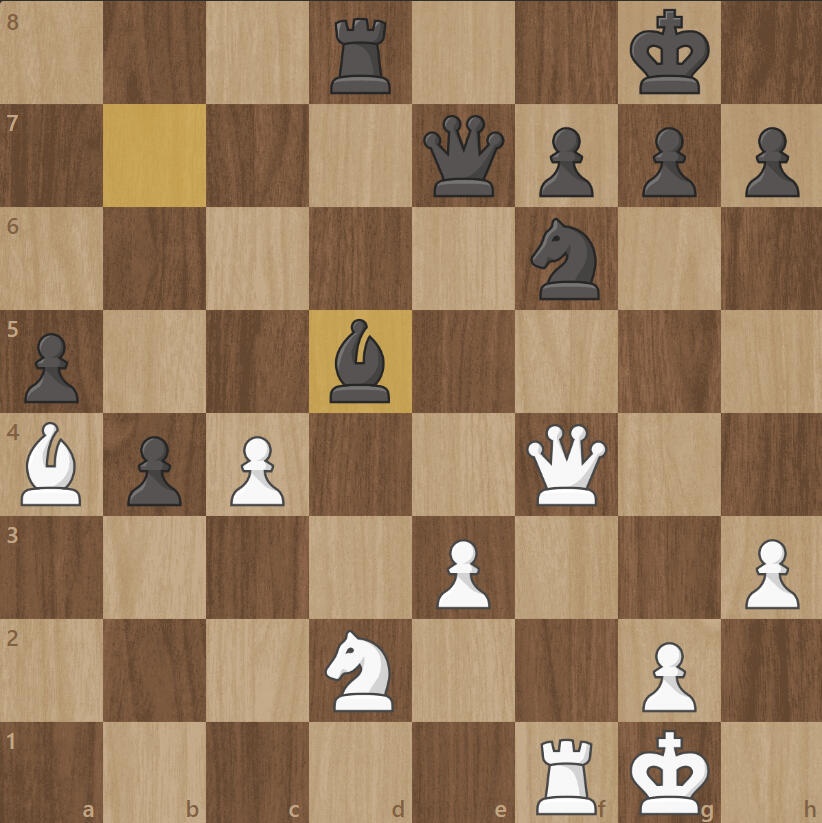
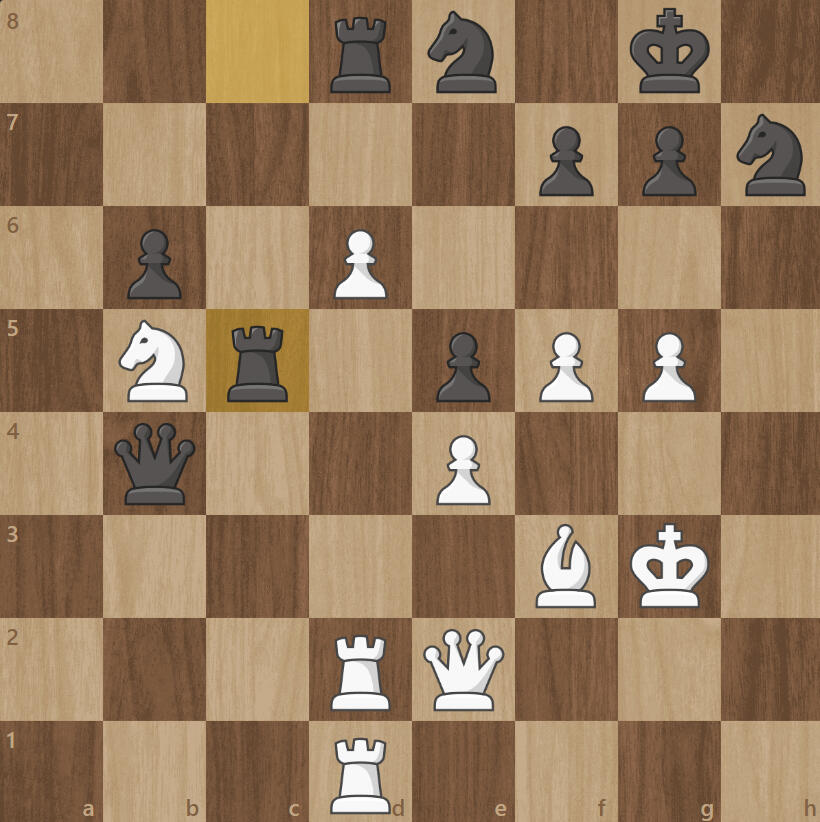
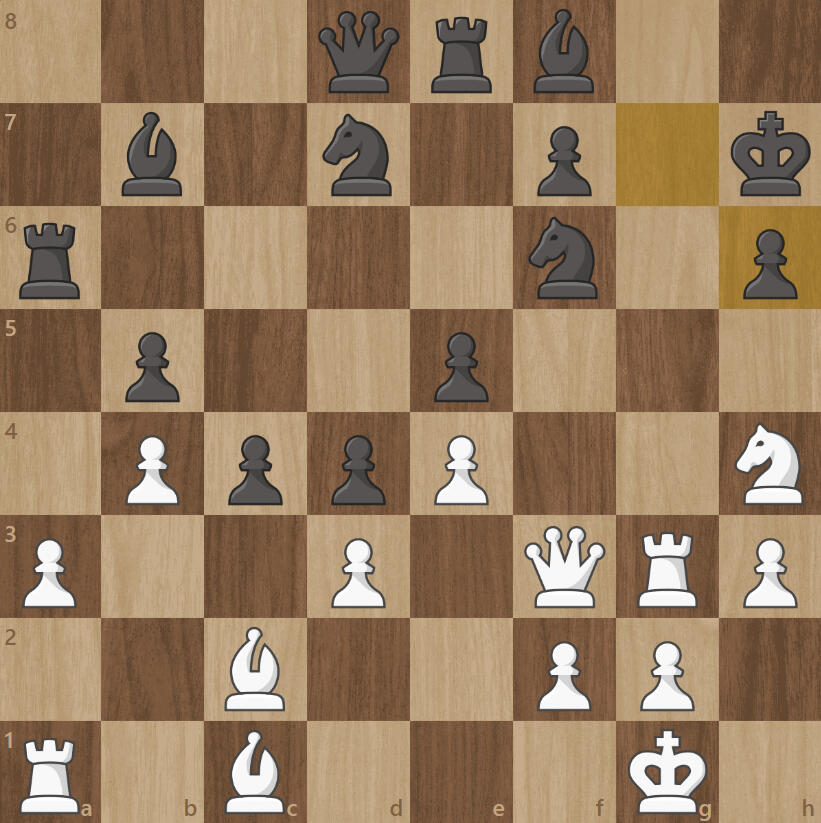
23. Rxe5 Nxe5 24. Qxe5 Qb6?
Qb6 is a mistake. In my view, Black might have entertained the idea of threatening the e3 square with a potential Ng4 in response to a pawn move to d5. However, this approach is flawed, as White can confidently advance with the d5 move. Even if Ng4 is played, White always has the option to place the Queen on d4. Yet, upon assessing this line of play, it contradicts my initial theory, as Ng4 is still deemed inaccurate, with h6 remaining the optimal move to secure an escape square for Black's King. Consequently, this position grants White the advantage.
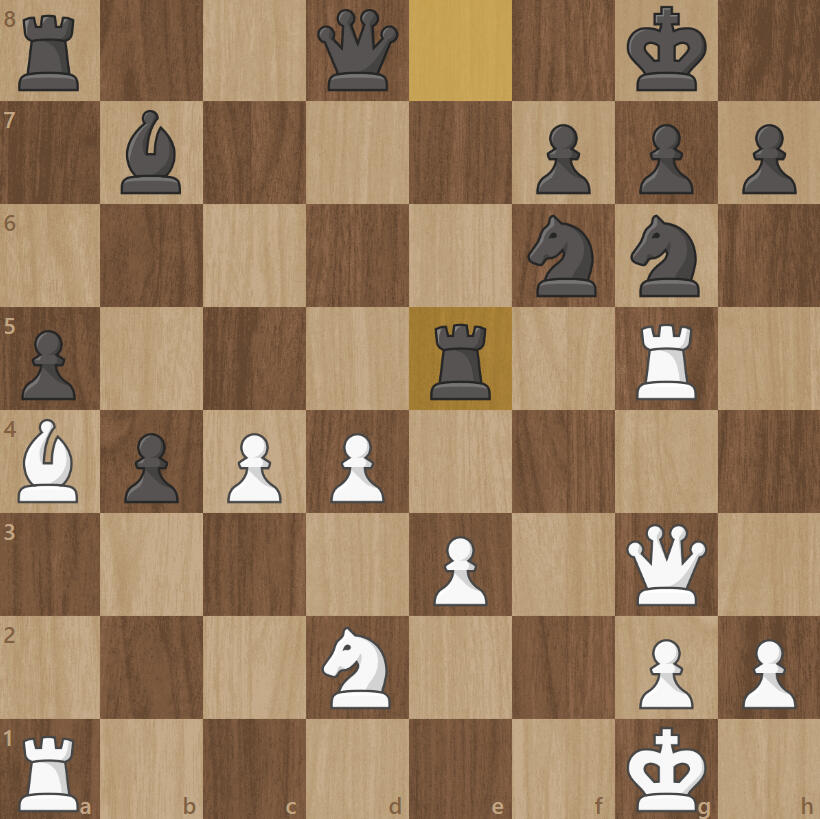
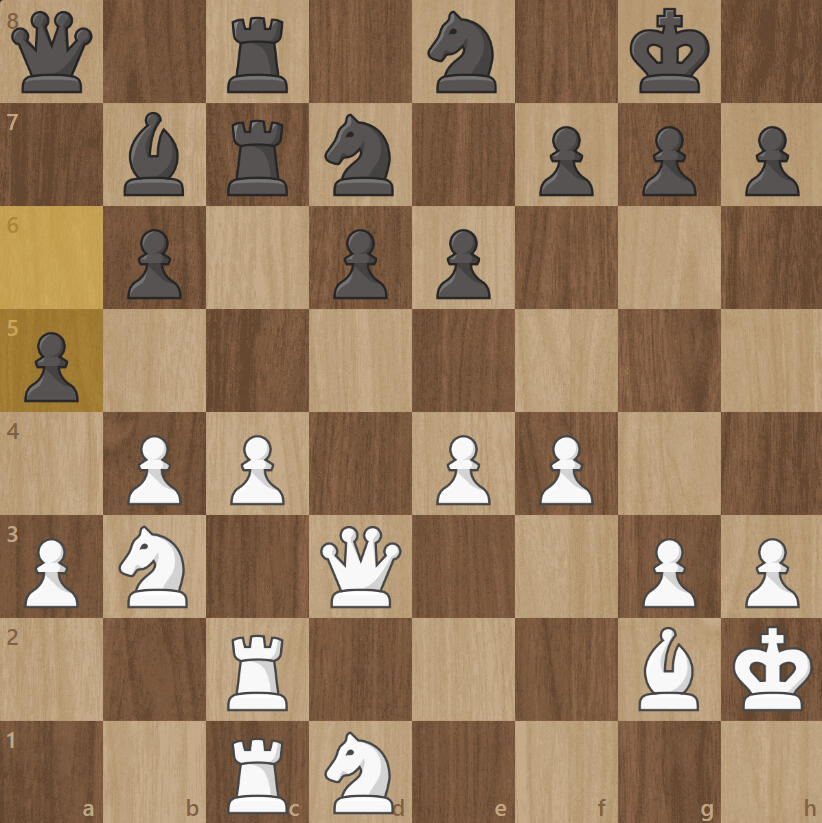
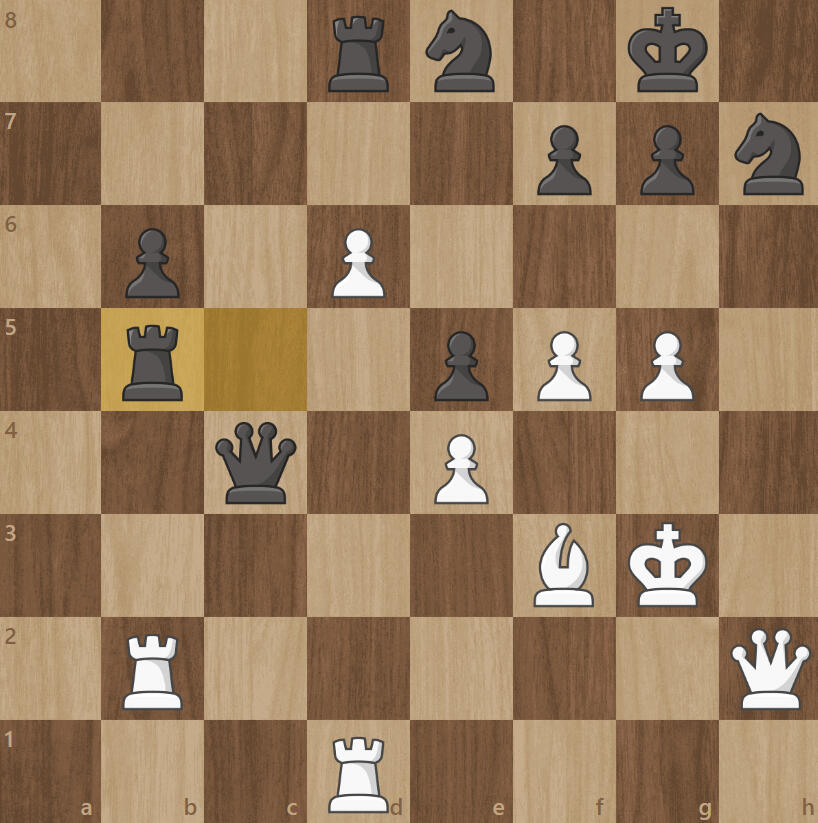
25. Rf1 Qe6
Rf1 was a miss for White; a better move would have been d5, pushing the pawn to promote. This position now enables Black to make a strong move with b3.
26. Qf4 Rd8 27. h3 Qe7 28. d5 Bxd5
Black has very few options in this position, as White has maintained strong control of the center with the connected pawns.
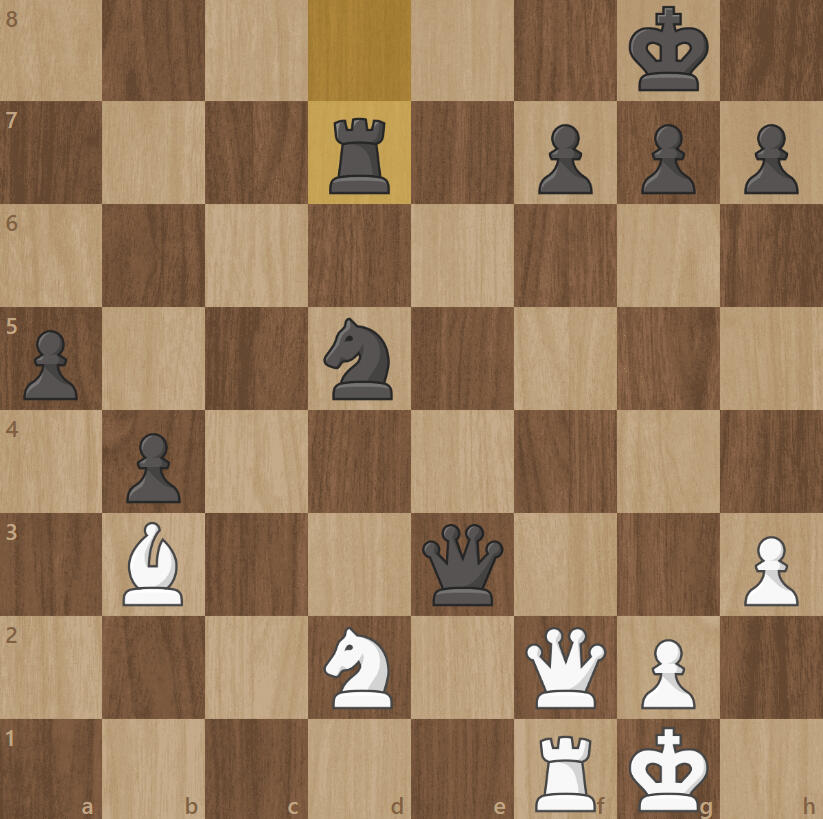
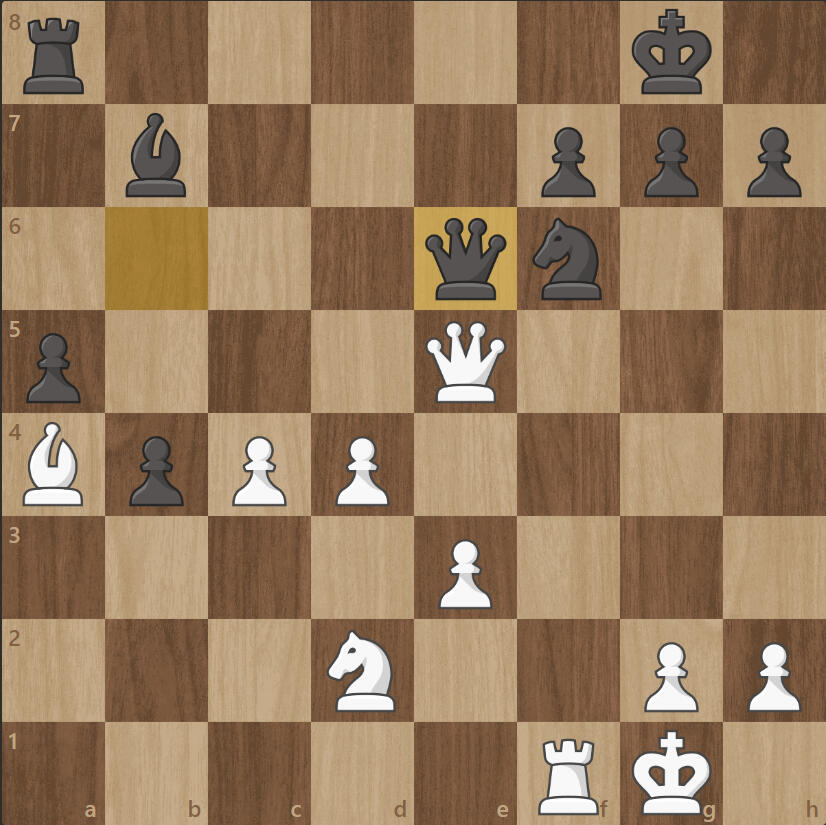
29. cxd5 Nxd5 30. Qf2 Qxe3? 31. Bb3! Rd7
A brilliant maneuver by White, posing a threat and exerting pressure on the f7 square.
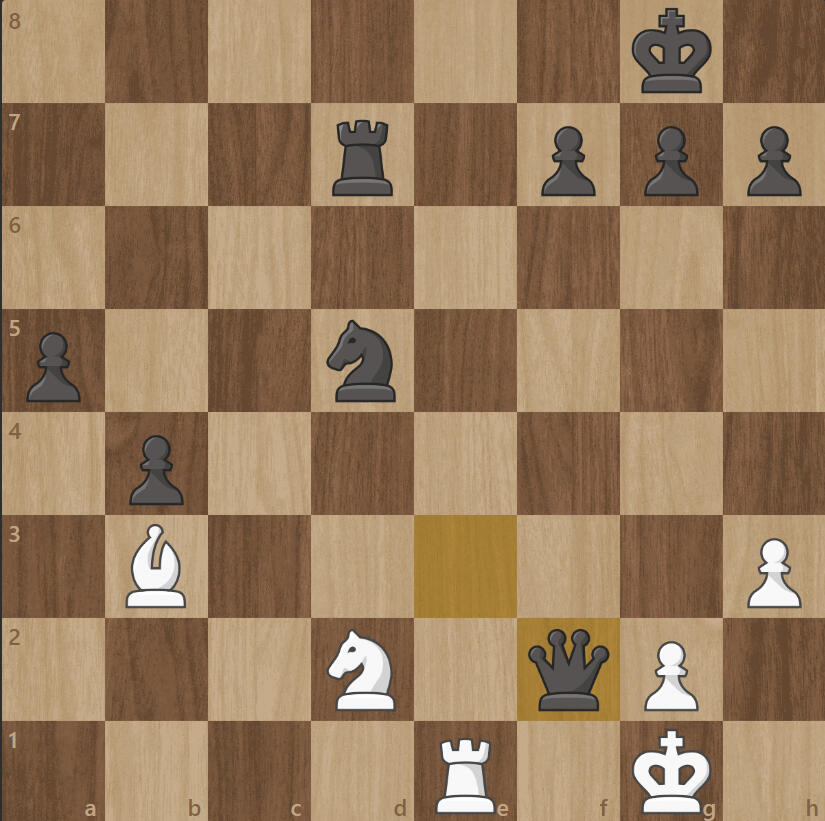
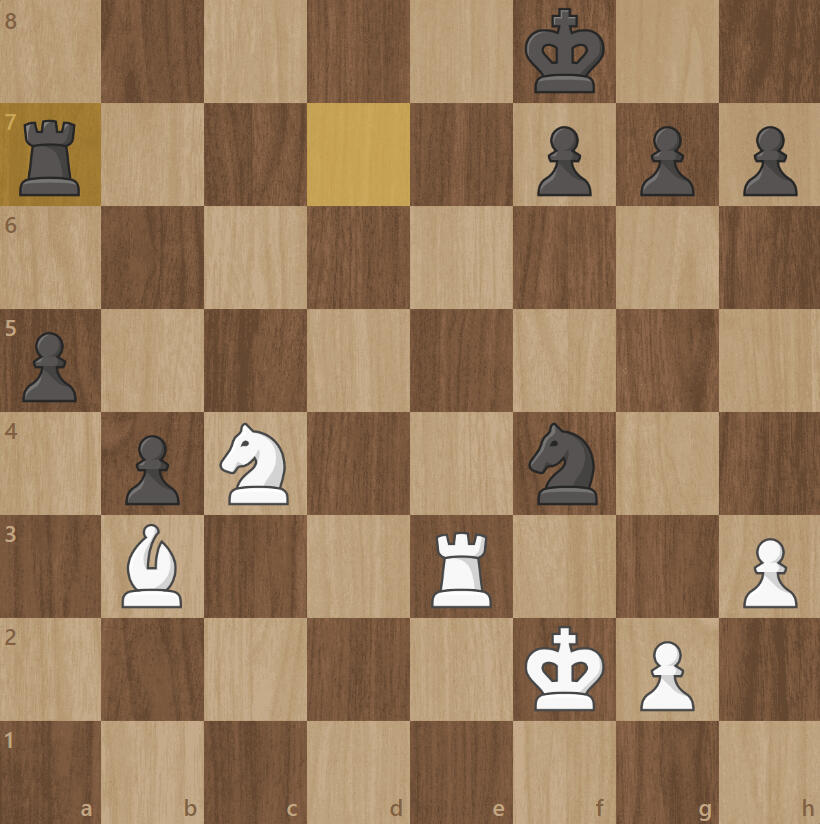
32. Re1?! Qxf2+
Re1 is an inaccuracy by White; here, White could have played the move Ne4, which is rather difficult to find. After 32. Ne4, there are several variations Black could consider. White can pose a checkmate threat if Black chooses 32...Qxe4, followed by 33. Re1 Ne3, and finally 34. Rxe3 Qa8, thus guarding the back-rank.
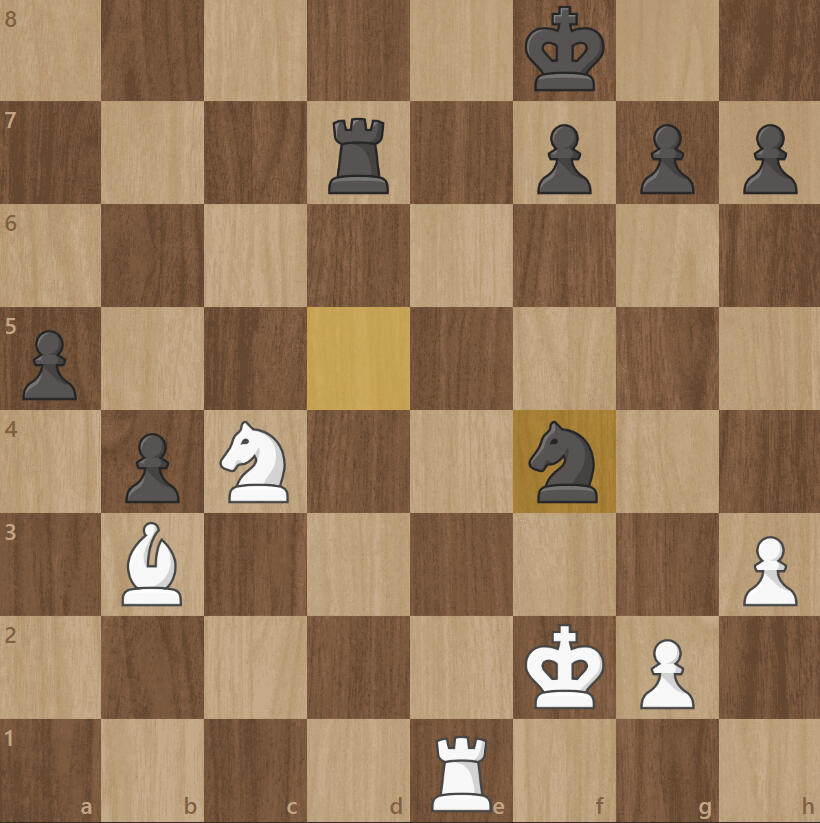
33. Kxf2 Kf8?! 34. Nc4! Nf4
Nc4 is a fantastic move as it allows the Knight to become more mobile at the center of the board, all while keeping tabs on the a and b-file pawns. It's important to note that Ne4 is not as effective, primarily due to the imminent pawn push of the a and b-file pawns. The connected pawns on Black's kingside could potentially pose problems for White in the future. This, combined with the fact that the position is relatively equal, highlights Black's advantageous position compensating for White's Knight-Bishop pair.
35. Re3? Ra7
Re3 misses an opportunity to win a pawn. White could have played Ra1, as there is no way to protect the a-pawn anymore.

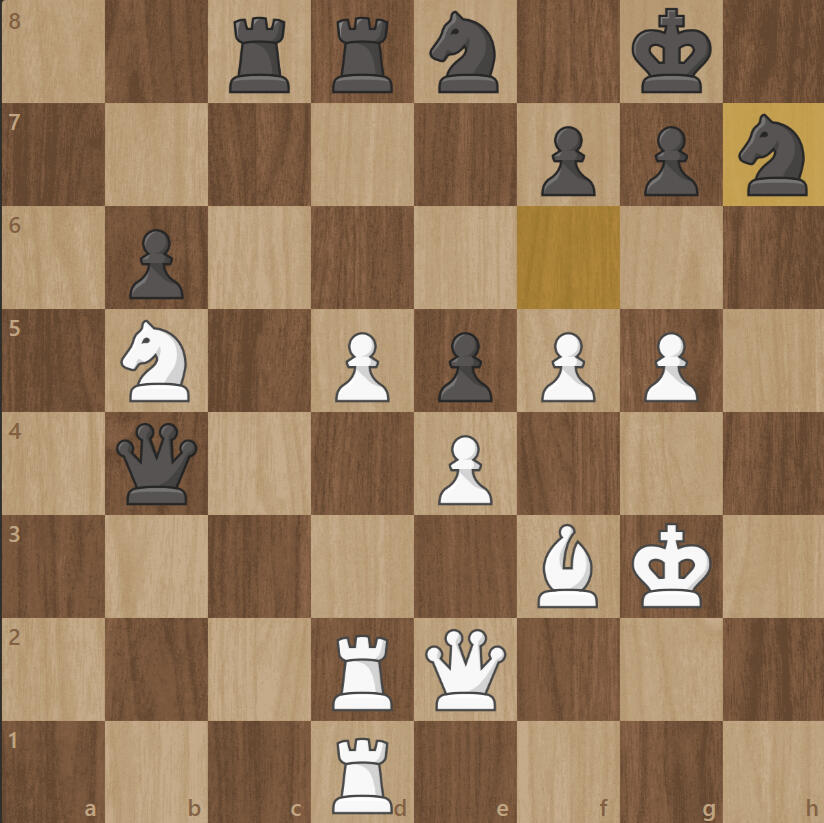
36. Nd6 Re7?37. Rxe7 Kxe7 38. Nc4? f5?
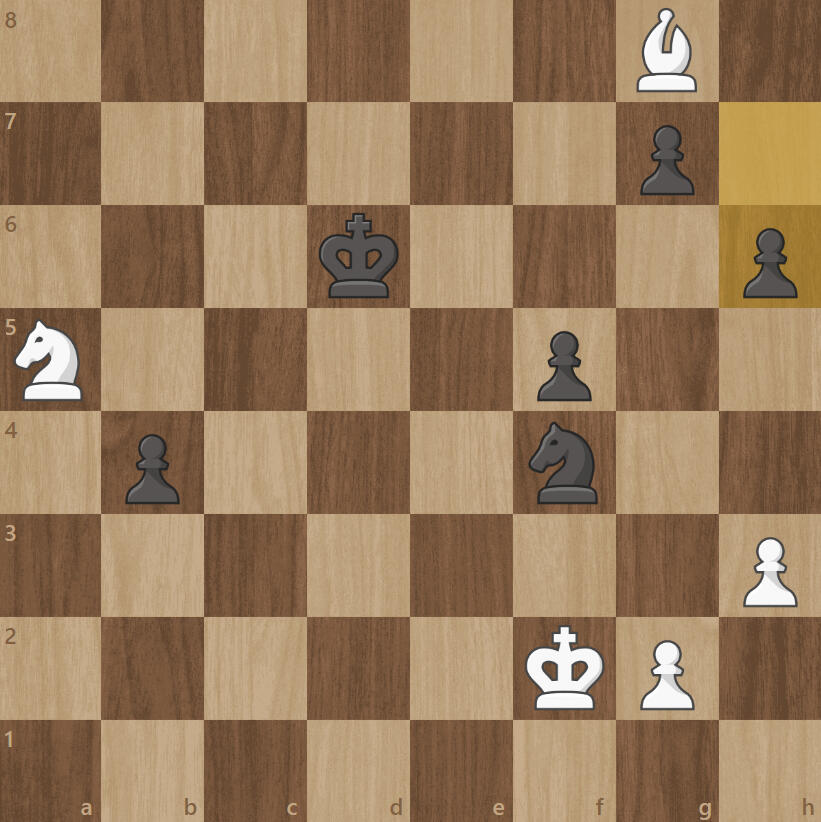
In this position, White could have also played Nb7 to capture the a-pawn immediately. Although it might appear that White can still capture the a-pawn with Nc4, Black actually has an opportunity to transition this into a relatively equal position. This can be achieved with 38...Nd3+ 39. Ke3 Nc5 40. Nxa5 Nxb3 41. Nxb3.
39. Nxa5 Kd6 40. Bg8? h6
A threat to the knight arises when White is a piece up. With proper play, White might be able to decisively control the position through an exchange.. 40. Kf3 Nd3 41. Ke3 Ne5 42. Nb7+ Kc7 43. Nc5 Kd6 44. Na6 Nc6 45. Ba4 g5 46. Bxc6 Kxc6 47. Nxb4+ Kd6 48. Kf3 ke5 49. g3 Ke7.
41. Kd3 Ne6 42. Bxe6 Kxe6
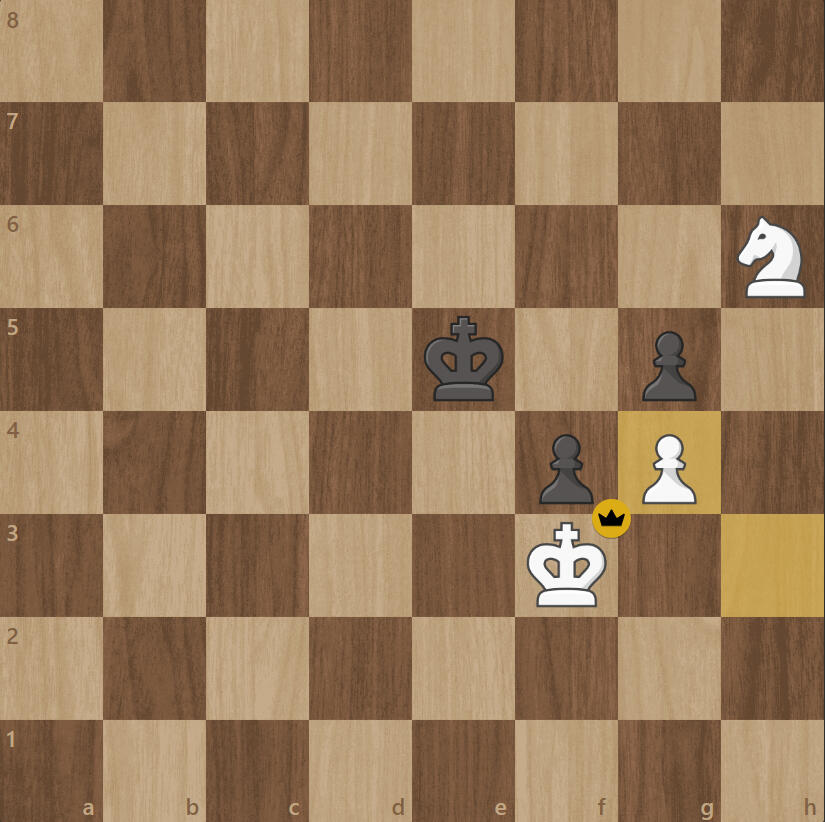
43. Nc6! b3 44. Nd4+! Ke5 45. Ncb3 g5 46. g3 Kd5 47. Nd2 Kd4 48. Nf1 Kd5 49. Ne3+ Ke5 50. g4 f4 51. Nf5 h5 52. Nh6 hxg4+ 53. hxg4
1. c4 c5 2. Nf3 Nf6 3. Nc3 e6 4. g3 b6 5. Bg2 Bb7 6. O-O d6 7. d4 cxd4 8. Qxd4 a6 9. Rd1 Be7
English Opening: Symmetrical Variation. I am very fond of both this opening and variation. In my earlier years, I was very positional, engaging in numerous study and training sessions focused on the English. I reviewed many Master games played by Anatoly Karpov and Tigran Petrosian. In move 6. 0-0, White can already formulate plans involving d4. However, this should be done with care, as the subsequent exchange followed by capturing with a Queen can lead to an exposed piece. Rd1 serves as a swift maneuver along the d-file, posing a threat to d6.
10. b3 Nbd7 11. e4 Qc8
It should be noted that while White has executed a fianchetto, playing e4 is not a blocking move, as its intention is to prevent Black from playing d5.
12. Bb2 O-O 13. Nd2 Qc7 14. Rac1 Rac8 15. h3 Rfe8 16. a3 Qb8 17. b4 Red8 18. Qe3 Ba8 19. Qe2 Ne8 20. Nf1 Bb7
I have observed Karpov executing fruitful knight maneuvers in his games. In this position, White may be intending to play 21. Ne3 in order to safeguard the c4 pawn and achieve greater mobility for the knight. While this doesn't grant White a significant advantage, considering Karpov's skillful playing style, such a situation can be readily managed.
21. Kh2?! Nef6 22. Nd2 Ne8 23. Re1 Ba8 24. Nb3 Bg5 25. Rc2 Rc7 26. f4 Bf6 27. Rec1 Rdc8 28. Nd1 Bb7 29. Qd3?! Bxb2 30. Nxb2 Qa8
After repositioning the Queen to target a potential weakness on the d6 square, Nxb2 secures the c4 square. Black should be prepared to protect the central d6 pawn, at the very least. Black's move 30…Qa8 is a strong choice, with 30…e5 being another alternative that counters White's ability to gain space.
31. Nd1 a5
Karpov possesses a very strong sense of position in his games, which is evident in his boa-style of play. This style involves engaging with his opponents strategically, waiting for a mistake to arise, and then capitalizing on it effectively – akin to a sudden-death scenario. In this specific position, the move Knight d1 might have served as a precursor to 31…Ndf6, followed by 32. Nf2. However, by advancing the pawn to a5, Black might have acted hastily, displaying a lack of patience. It's crucial to acknowledge that, up until that juncture, Black had not committed any significant mistakes that would have led to an advantage for White. Conversely, White had maintained a strong position throughout the game. This particular position is often referred to as a "hedgehog," given that the pawn arrangement resembles the quills of a hedgehog. Given this context, the move a5 carries a considerable risk. Opting for 31…Rd8 to defend d6 or h6, thereby creating more space for the king, would have been a better course of action.
32. Nd4 Rd8 33. Nb5 Rcc8 34. Ndc3 Qb8 35.Rd1 Ndf6 36. Rcd2 h6 37. Qe2 Ba8
Ba8 might have been a waiting move, but in this position, initiating a break with e5 would have been the best course of action to contend for space.
38. Kg1 Bc6
Missed opportunity. White could have simply executed a trade with 38.bxa5 bxa5. The move Bc6 is excellent, as it renders the Black bishop more active.
39. Kh2 e5 40. f5?! Qa8
White might be considering a plan involving g4, followed by h4 and g5, to launch an attack on Black's kingside. However, an alternative move could have been Bf2 in this position, aimed at enhancing its activity.
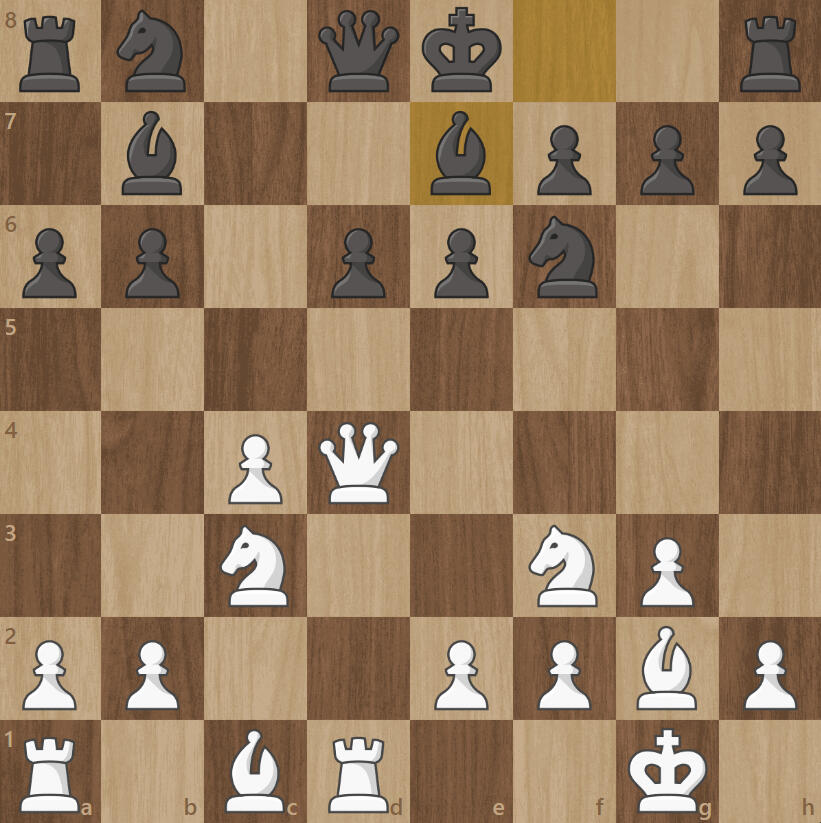
41. g4 Qb8 42. h4 Qb7 43. Bf3 Qe7 44. Kg3 axb4 45. Kg3 axb4 46. axb4 d5 47. cxd5 Bxb5 48. Nxb5 Qxb4 49. g5 hxg5 50. hxg5 Nh7
49…Nh7 could have been done earlier as 48…Nh7 with a threat to take on g5 soon after. On 49. Gxh6 Nf6 50. Rb2 Qa4 51. hxg7 Nxg7 52. Kh2 Kh7 53. Ra2 Qc4 54. Re1 Qxe2 55. Rexe2 Rc5 56. Reb2 Rc4 57. Ra7 Nxe4 58. Rg2 Kg8 59. Bxe4! Rxe4 60.f6 Rxh4+ 61. Kg1 ; a winning attack for White.
50. d6! Rc5
A great move by White leading to a fork, 50…Nxg5 51. D7 Rc6 52. Dxe8=Q+ Rxe8. 50…Rc5 is a mistake, as after 51. Qh2 Qxb5 52. Rh1 Rxd6 53. Qxh7+ Kf8 54. f6 gxf6 55. g6 Qb3 56. g7+ Ke7 57. g8= Q Rxd2.
51. Rb2 Qc4 52. Qh2!! Rxb5
Move 52, Qh2, was a stroke of brilliance. Once again, this could have been executed much earlier, as seen in move 51. The underlying idea here is to capture on h7 as a sacrificial move. The escape square e7 is obstructed by the d6 pawn, and the f7 square will soon be covered by a future g6 move. Rooks can then be brought into play on the h-file to intensify the attack. A more optimal response for Black would have been 52...Nxg5 53. Rh1 Nxe4+ 54. Kg2 Qc2+ 55. Be2 f6 56. Qh7+ Kf8 57. Qh8+ Kf7 58. Rxc2 Rxc2 59. Qh5+ Kf8. In the case of 52. Rxb5, Black is exposed to a forced checkmate.
53. Qxh7+!! Kxh7 54. Rh2+ Kg8 55. Rdh1! F6 56. Rh8+!
1. e4 e5 2. Nf3 Nc6 3. Bb5 a6 4. Ba4 Nf6 5. O-O Be7 6. Re1 b5 7. Bb3 O-O 8. h3 Bb7 9. d3 d6 10. c3 Nb8
Ruy Lopez: Morphy Defense, Closed. Follow ups are 11. Nbd2, 11.a4, 11. Nh2.
11. Nbd2 Nbd7 12. Nf1 Nc5 13. Bc2 Re8 14. Ng3 Bf8 15. b4 Ncd7
This same position arises from Medina Garcia – Spassky in 1955, with White playing 15. Nh2?! D5 16. Qf3 g6 16. Bg6 Be7 18. h4, mirrored in this game Spassky uses the third-rank defense idea as 18…a5! 19.h5 Ra6!. White had no more attacking chances and eventually lost. Alternates after 15. b4 kicking the knight is 15…Ncd7 and 15…Ne6. Book-wise 15. Bg5 may have also worked.
16. Bb3 a5 17. a3 axb4 18. cxb4 h6 19. Nf5 d5!
In this position, White exploits Black’s king-side considering the Bishop on f8 is inactive with d6 blocking, and d6 cannot be pushed yet without further reinforcements. Bb2 is also an option as this develops a bishop. 19... c5 20. Nf5 Ra6 21. Rc1 cxb4 22. axb4 d5 23. d4 dxe4 24. Nxe5 Bd5 25. Ne3 Nb6 26. Rc6 Re6 27. Nxd5 Nbxd5 28. Rxe6 Rxe6
20. N3h4?! c5! 21. Re3 c4 22. Rg3 Kh7
A mark of Tal’s attacking prowess ; while obviously threatening. It eventually becomes evident that the attack still lacks the needed force to break open Black’s king-side. On a side-note, If one were to carefully analyze and evaluate much of Tal’s games, like any other player, mistakes or severe blunders can easily be seen. This is unimportant however if in the games itself, the opponent relies more on intuition rather than solid calculation. From where Tal exploits with fear and surprise.
23. Bc2 d4 24. Qf3?! Ra6 25. Nxh6 gxh6
Sacrifice. Black is already in a good deal of an advantage in this position, despite the threats on the king-side.
26. Nf5 Qa8 27. Nxh6 Bxh6
Another sacrifice, but Black already has the advantage and protection it needs for the open king-side. It may also proceed with 27…Bxh6 28. Qf5 Kh8 29. Bxh6 Rg8.